I have had this nightstand for as long as I can remember. My
dad and I found it while we were out one day and it was this interesting light
yellow color but it was perfect for what I needed. We left it that way for a
while and when I changed my room to HOT pink with tiger stripes, it got its
first make over. Where it looked like these before pictures. And that way it
stayed until last weekend. Yes I am 22 and did have this in my room until about
6 months ago. The tiger stripes in my room though did get painted over after
high school a few years back.
 |
| I love that my dad did this for me and let me help. |
 |
| I got to help with the stripes ( I was probably 10) |
Back to the point, I remade my loved nightstand into a
vintageish (is that a word.. well it is for now) craft dresser. And I did it on my own,
well mostly Hubby helped some.
Materials:
- Furniture you are re doing, wood
- Scrap book paper or wall paper
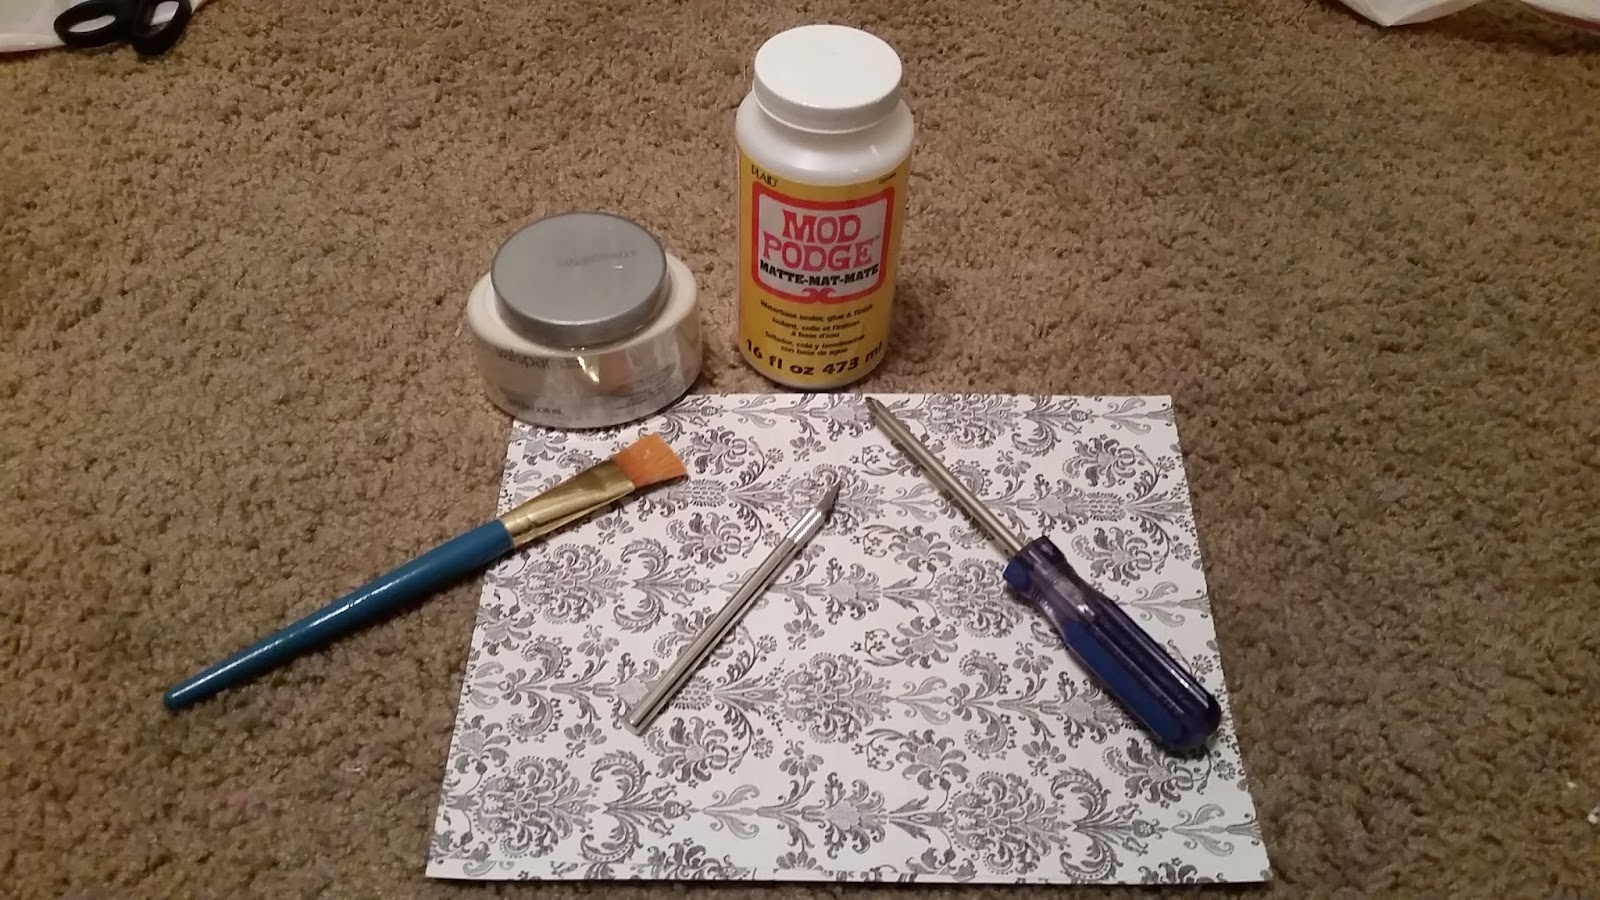
- Mod podge
- Paint
- Paint brushes
- Sand paper
- Electric sander
First we decided to take the paint off by sanding it. This
took a while and lots of sand paper, apparently this many edges and an electric
sander cause the paper to tear. Hubby was awesome to do this part for me.
 |
| The back painting was all me.. obviously it always was against a wall |
 |
| Nice and smooth |
Then it was time to paint and paper. Hubby helped here too and was kind enough to
paint the body of the night stand. I took the drawers and worked on getting
them covered. To do this and it is the same for the sides and top as well do
the following.
- Cut paper to size. Do this part first or it will be a big
headache once it is dry.
- Brush a thin layer of Mod Podge onto the surface
-Place the paper on and smooth it out, using a credit card.
Warning this will probably cause extra Mod Podge to squeeze out of the edges.
- Smooth again, make it as flat as possible
- Add a medium thickness layer of Mod Podge on top. You want
it to look white when you are looking at it. Let dry for 20 minutes then do
another layer the same way.
 |
| See how the bottom part is whiter then the top, you want to be able to see where you put it. |
- When you are done with the Mod Podge layers you can add a
protective sealer on it to seal it and give it a little shine as well.
Replace any hardware you took off and you are all done.
Have you used Mod Podge much? I now have quite a large jar of it and need more things to make, I would love to hear your ideas. Have you ever re made a piece of furniture? I would love to see it, leave a link in the comments and I will take a look.

.png)


It does not even look like the same piece of furniture... Super cute.
ReplyDeleteI have always been a little intimidated by Mod Podge but, I think I may try it now.. Thanks
The finished piece is gorgeous. Great job!
ReplyDeleteThank you!!
DeleteLove it. You did a great job.
ReplyDelete